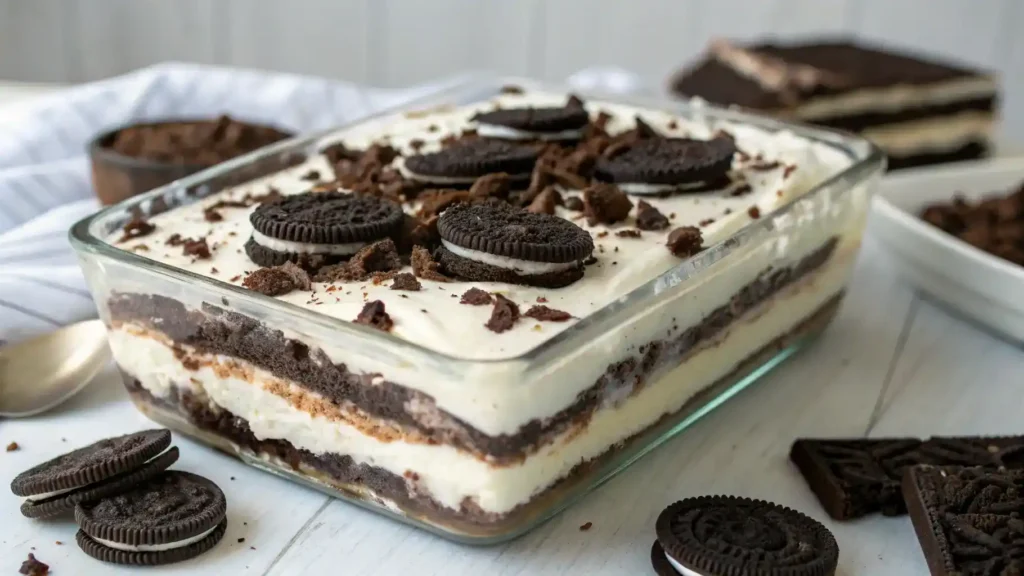
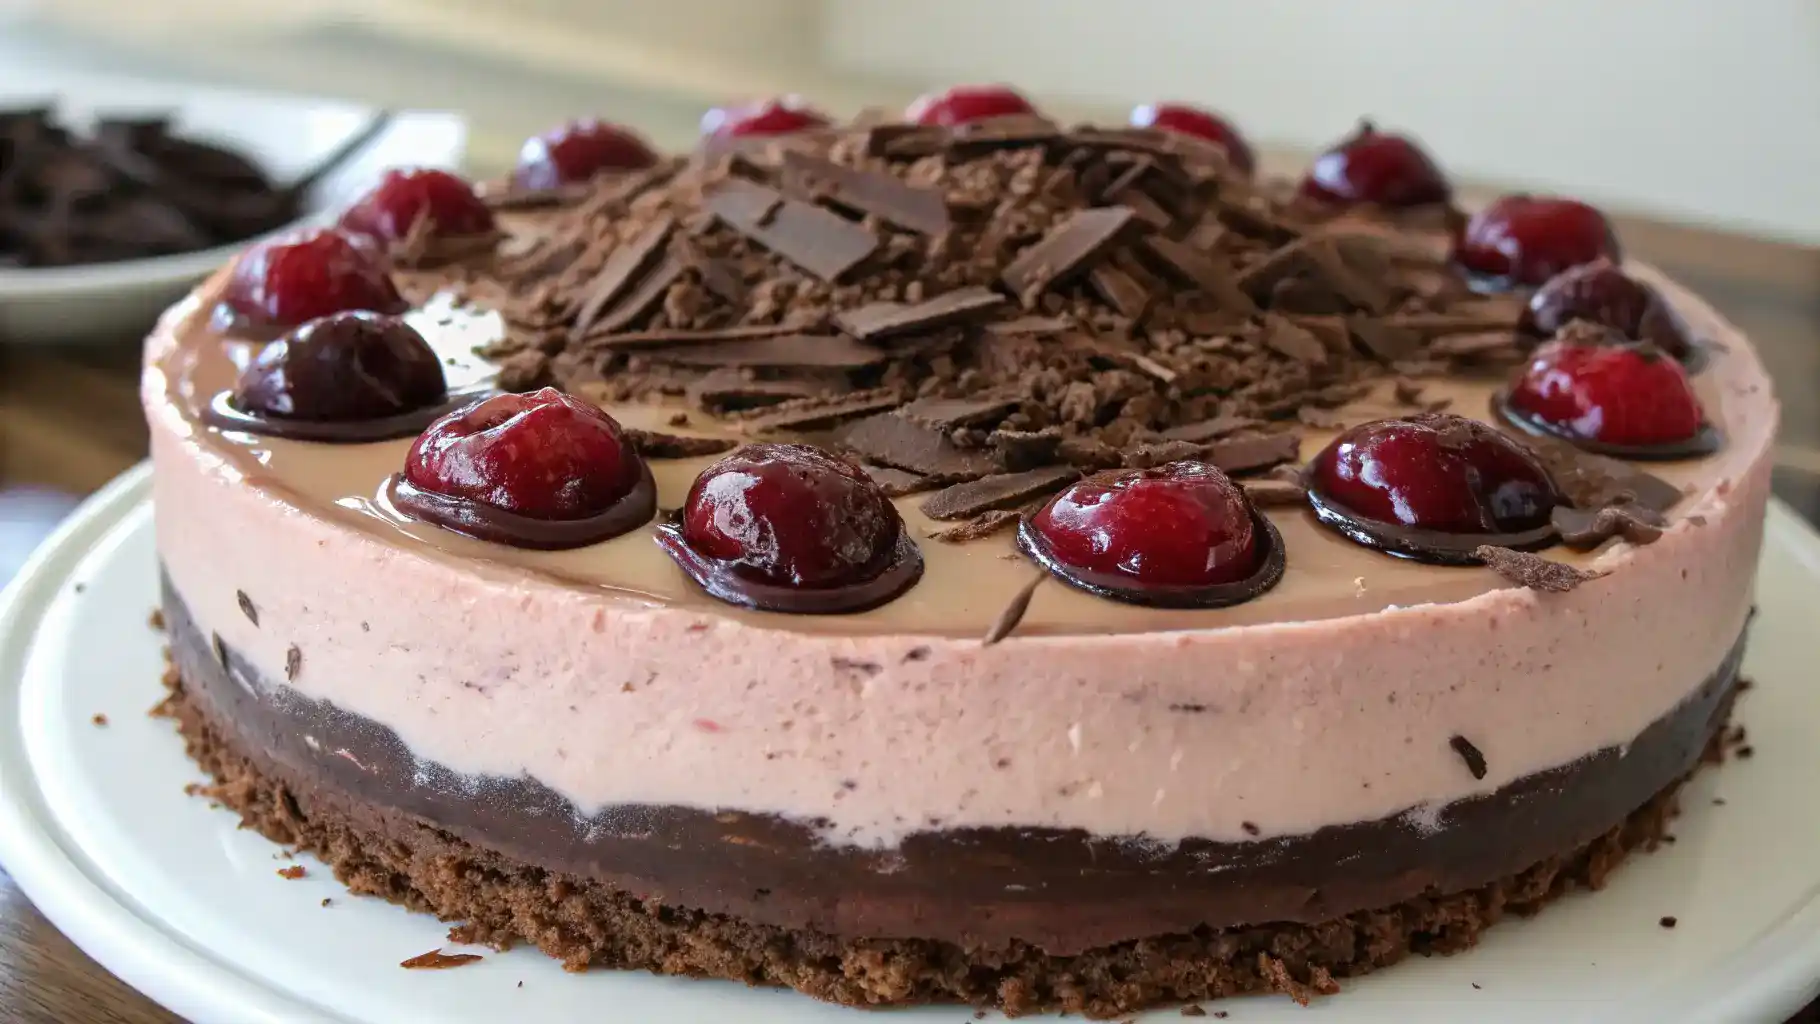
Imagine sinking your fork into a luscious slice of Black Forest Cheesecake, where velvety cream cheese meets rich chocolate and sweet, juicy cherries. The aroma of cocoa wafts through the air, inviting you to indulge. Each bite is a delightful dance of creamy texture and a hint of tartness from the cherries, perfectly balanced with a buttery graham cracker crust. Topped with fluffy whipped cream and a sprinkle of chocolate shavings, this dessert is not just a treat; it’s a celebration of flavors that will make your taste buds sing and your heart flutter!
Table of Contents
Why You’ll Love This Recipe
- Trust me, you’re going to love the rich, creamy texture!
- This one’s a game-changer for chocolate lovers!
- It’s a showstopper that impresses at any gathering!
- Easy to make with simple ingredients you probably have!
- Perfect balance of sweet and tart flavors in every bite!
Recipe Snapshot
| Feature | Details |
|---|---|
| Category | Side Dish |
| Cuisine | American-inspired comfort food |
| Prep Time | 10 minutes |
| Cook Time | 15 minutes |
| Total Time | 25 minutes |
| Dietary | Vegetarian |
| Serves | 4 |
| Best Served | Hot and cheesy right off the cob! |
Ingredients
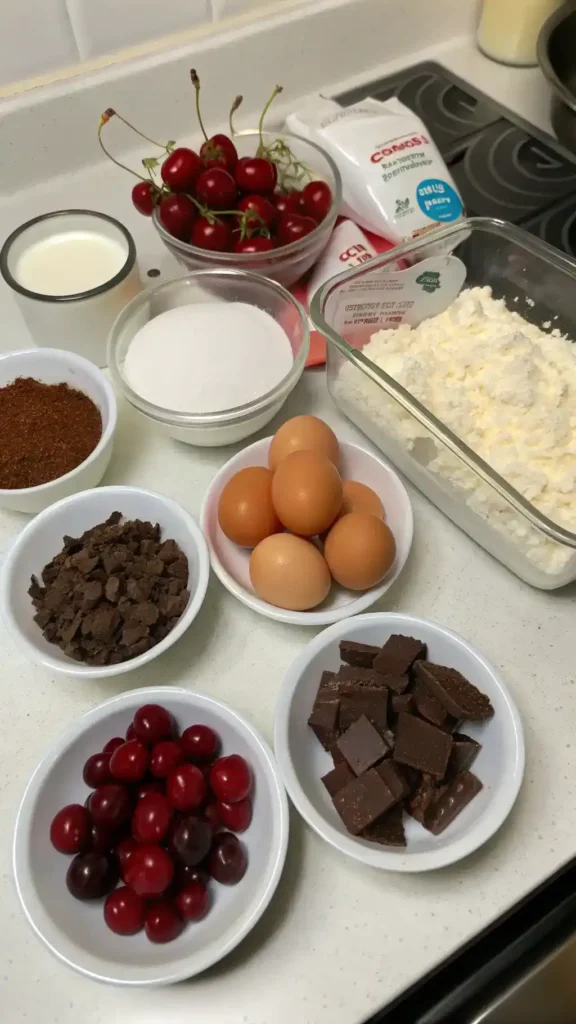
- Chocolate cookies – a crunchy base that adds rich chocolate flavor.
- Unsalted butter – binds the crust together for a perfect texture.
- Cream cheese – provides a creamy and tangy filling.
- Sour cream – adds a smooth texture and enhances the flavor.
- Granulated sugar – sweetens the cheesecake to perfection.
- Vanilla extract – infuses a warm, aromatic flavor.
- Cocoa powder – intensifies the chocolate flavor in the filling.
- Heavy cream – whips up beautifully for a light topping.
- Cherry pie filling – adds a fruity, tart contrast to the rich cheesecake.
- Chocolate shavings – for a decorative and delicious finishing touch.
Ingredients with measurements will be right under the article in the recipe card.
How to Make the Recipe
Get ready to whip up a delicious Black Forest Cheesecake with these easy steps!
Step 1: Prepare the Crust
Crush 1 ½ cups of chocolate cookies into fine crumbs. Melt ½ cup of unsalted butter and mix it with the crumbs. Press the mixture firmly into the bottom of a springform pan. Chill in the fridge while you prepare the filling.
Step 2: Make the Cheesecake Filling
In a large bowl, beat 16 oz of cream cheese until smooth. Gradually add 1 cup of sugar and 1 tsp of vanilla extract, mixing well. Add 2 cups of whipped cream and gently fold until combined.
Step 3: Add the Chocolate
Melt 4 oz of semi-sweet chocolate and let it cool slightly. Stir the melted chocolate into the cheesecake mixture until fully incorporated.
Step 4: Layer the Cheesecake
Pour half of the cheesecake filling over the chilled crust. Spread evenly. Add a layer of cherry pie filling (about 1 cup) on top. Pour the remaining cheesecake filling over the cherries and smooth it out.
Step 5: Chill and Set
Cover the cheesecake with plastic wrap and refrigerate for at least 4 hours, or overnight for best results. This helps it set perfectly!
Step 6: Decorate and Serve
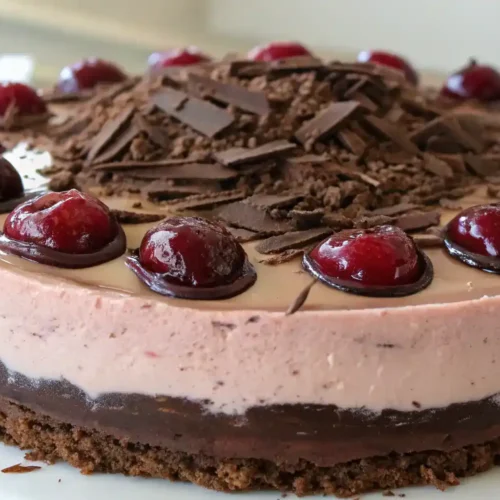
Once set, remove the cheesecake from the springform pan. Top with more whipped cream, chocolate shavings, and cherries. Slice and enjoy your decadent delight!
Pro Tips for Making the Recipe
•Use room temperature cream cheese for a smoother texture.
•Opt for high-quality cocoa powder for richer chocolate flavor.
•Chill the cheesecake overnight for the best set and flavor.
•Substitute cherry juice for any alcohol in the recipe.
•Garnish with fresh cherries and chocolate shavings for a stunning presentation.
How to Serve

- Top with fresh whipped cream for an airy finish.
- Garnish with chocolate shavings for extra indulgence.
- Serve alongside a scoop of vanilla ice cream for a creamy contrast.
- Pair with a cup of rich coffee or a refreshing herbal tea.
- Add a sprinkle of cherry compote on the side for a fruity burst.
- Use crushed graham crackers as a crunchy topping for texture.
- Present on a decorative platter with fresh berries for a colorful display.
- Slice into small squares for bite-sized treats at parties.
Make Ahead and Storage
Proper storage ensures your Black Forest Cheesecake stays delicious for days!
Storing Leftovers
Follow these tips to keep your cheesecake fresh:
- Cover the cheesecake with plastic wrap or aluminum foil.
- Store in the refrigerator for up to 5 days.
- Keep it in an airtight container for best results.
Freezing
To freeze your cheesecake without losing quality:
- Wrap individual slices in plastic wrap tightly.
- Place wrapped slices in a freezer-safe container.
- Label with the date and freeze for up to 2 months.
Reheating
For the best texture and taste when enjoying leftovers:
- Thaw in the refrigerator overnight before serving.
- Let it sit at room temperature for 30 minutes before enjoying.
- Avoid microwaving to preserve the creamy texture.
FAQs
What can I use instead of alcohol in the recipe?
You can easily substitute any alcohol in the Black Forest Cheesecake with cherry juice or a splash of vanilla extract. This will maintain the flavor profile while keeping it family-friendly!
How do I prevent my cheesecake from cracking?
To prevent cracks, make sure to mix your ingredients at low speed and avoid overmixing. Also, baking the cheesecake in a water bath can help maintain even temperature and moisture.
Can I make this cheesecake ahead of time?
Absolutely! Black Forest Cheesecake can be made a day or two in advance. Just store it in the refrigerator, and it will taste even better as the flavors meld together.
What’s the best way to serve Black Forest Cheesecake?
Serve your cheesecake chilled, topped with whipped cream and chocolate shavings for that classic Black Forest touch. Fresh cherries can also be a delightful addition!
Final Thoughts
There you have it—your very own Black Forest Cheesecake, a delightful treat that’s as simple as it is scrumptious! Picture yourself sharing this creamy, chocolatey masterpiece with friends and family, sparking joy and nostalgia with every bite. So go ahead, whip up this decadent delight, and let the sweet flavors transport you to a happy place. Enjoy every moment of this delicious adventure!
black forest cheesecake
Equipment
- 1 springform pan For assembling the cheesecake.
- 1 Large bowl For mixing the cheesecake filling.
- 1 mixing spoon For combining ingredients.
- 1 whisk For beating the cream cheese.
Ingredients
Crust
- 1.5 cups chocolate cookies Crushed into fine crumbs.
- 0.5 cups unsalted butter Melted to bind the crust.
Filling
- 16 oz cream cheese Softened for easy mixing.
- 1 cup granulated sugar To sweeten the filling.
- 1 tsp vanilla extract For flavor.
- 2 cups heavy cream Whipped for topping.
- 4 oz semi-sweet chocolate Melted and cooled.
- 1 cup cherry pie filling For layering.
- to taste chocolate shavings For decoration.
Instructions
Prepare the Crust
- Crush 1 ½ cups of chocolate cookies into fine crumbs. Melt ½ cup of unsalted butter and mix it with the crumbs. Press the mixture firmly into the bottom of a springform pan. Chill in the fridge while you prepare the filling.
Make the Cheesecake Filling
- In a large bowl, beat 16 oz of cream cheese until smooth. Gradually add 1 cup of sugar and 1 tsp of vanilla extract, mixing well. Add 2 cups of whipped cream and gently fold until combined.
Add the Chocolate
- Melt 4 oz of semi-sweet chocolate and let it cool slightly. Stir the melted chocolate into the cheesecake mixture until fully incorporated.
Layer the Cheesecake
- Pour half of the cheesecake filling over the chilled crust. Spread evenly. Add a layer of cherry pie filling (about 1 cup) on top. Pour the remaining cheesecake filling over the cherries and smooth it out.
Chill and Set
- Cover the cheesecake with plastic wrap and refrigerate for at least 4 hours, or overnight for best results. This helps it set perfectly!
Decorate and Serve
- Once set, remove the cheesecake from the springform pan. Top with more whipped cream, chocolate shavings, and cherries. Slice and enjoy your decadent delight!